Sections
WordPress is a very popular CMS (Content Management System) used to develop a website. It contains at least one database where all the site content is stored.
In order to install WordPress manually, kindly follow these easy steps:
1. Download the latest version of WordPress Open Source CMS https://wordpress.org/latest.zip
2. Login to your Hosting Panel.
3. Create a new MySQL (MariaDB) database.
4. Create a new user for the database created in previous step (if this was not already done). (Save the username and password)
5. Make sure the user has sufficient access rights for the database created in above step.
6. Extract the content of the WordPress download to the root of your website. This will typically be public_html (Linux) and wwwroot (Windows). You can use your Web Panel File Manager of FTP to upload the files. (if your FTP client has an option to convert file names to lower case, make sure it is disabled!)
7. Below is what the extracted WordPress content should look like in your web file system.
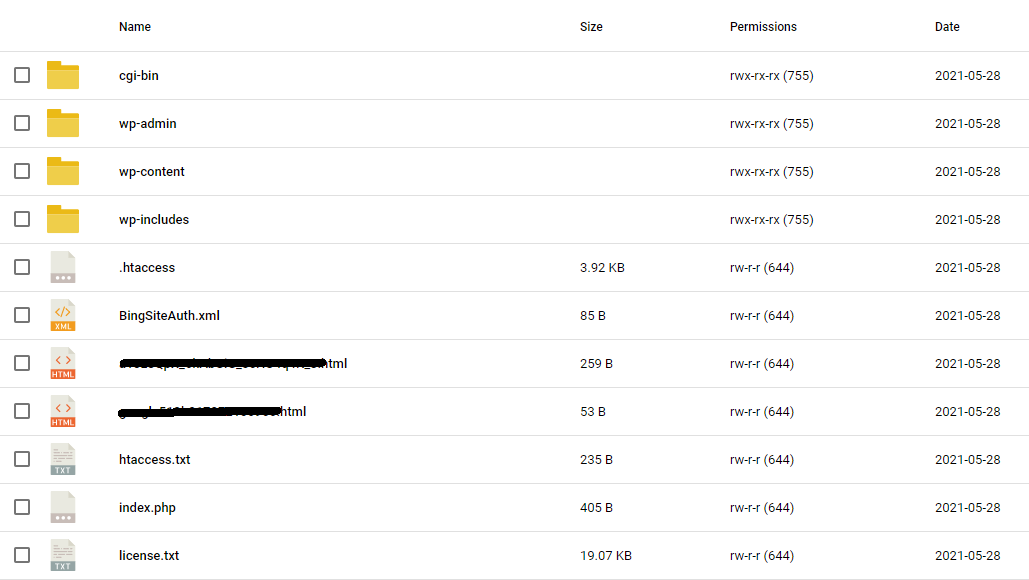
WordPress File Manager – Direct Admin
8. We recommend that you set the default PHP version in your hosting panel to be at least version 7.4. Each panel has their own way of setting this. Search this KB for more details on that.
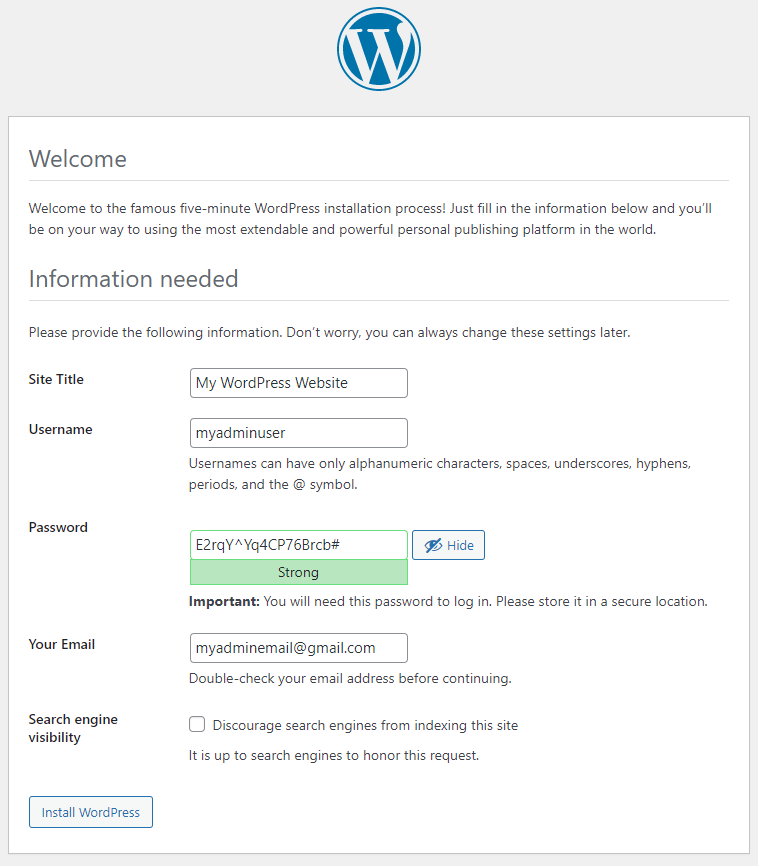
9. Now run the WordPress installation by accessing the website URL. I.e. http://mynewwebsite.com. The installation will prompt you for the Site Name, contact information and most importantly the Database details.
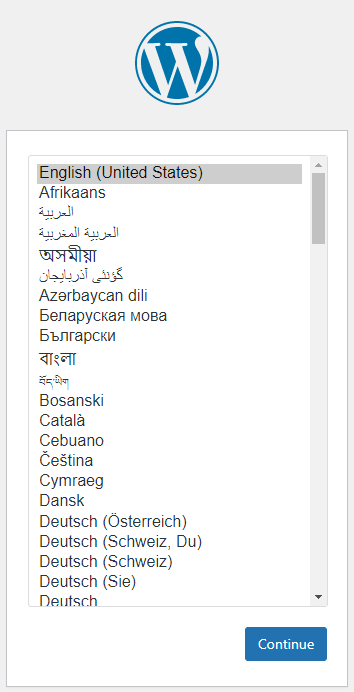
WordPress Install Step 1
WordPress Install Step 2
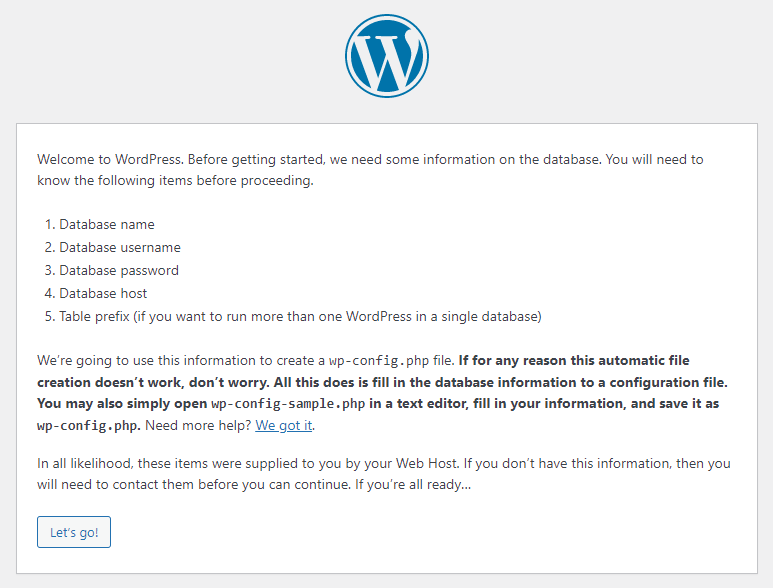
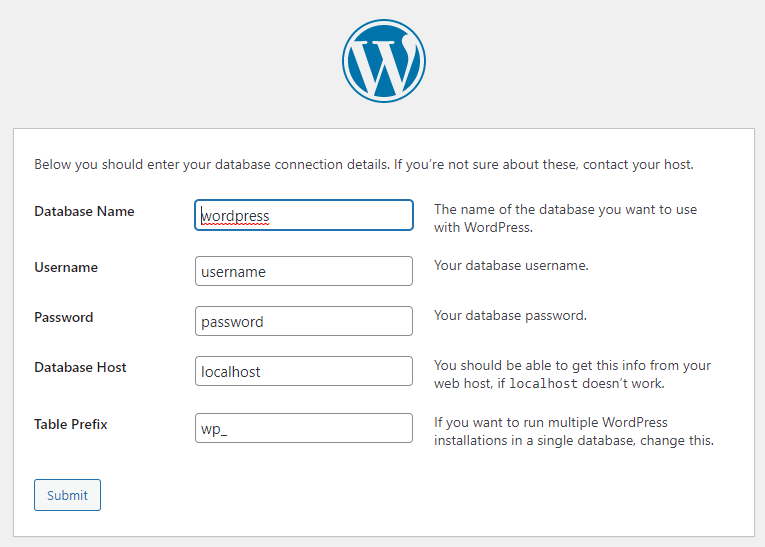
10. The database details will typically be:
- Database name (DB_NAME) – the database created in the above step 3 above.
- Database username (DB_USER) – the user created for the database in step 3 above.
- Database password (DB_PASSWORD) – the password created for the above user.
- Database host (DB_HOST) – localhost
- Table prefix – wp_
- The reset you can leave as default.
WordPress Install Step 3
WordPress Install Step 4
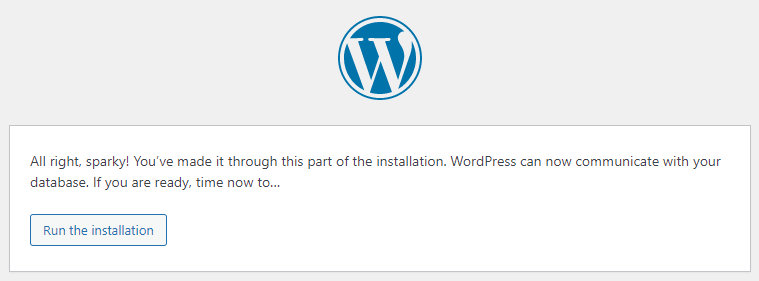
WordPress Install Step 5
WordPress Install Step 6
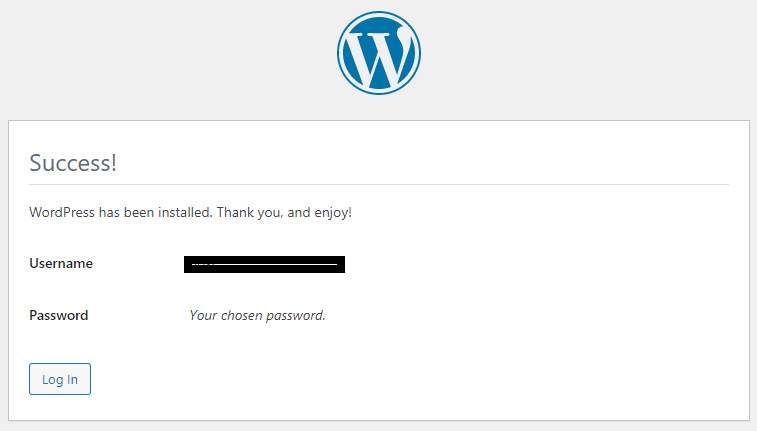
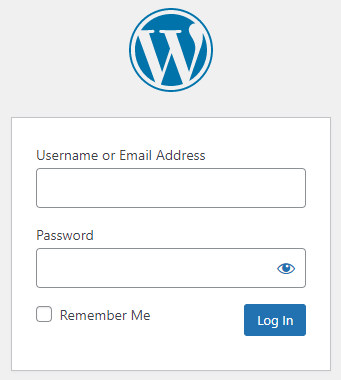
11. Log In to your new WordPress website by accessing the URL : http://yourdomain.com/wp-admin. The last part (wp-admin) represents the back-end login section of your WordPress login.
WordPress Install Step 7
Please also find a little more detailed instruction directly from WordPress here: https://wordpress.org/support/article/how-to-install-wordpress/
Congratulations! You have successfully installed WordPress
Keywords:
Manual wordpress install, install wordpress manually, wordpress install not working, app gallery not working
Related Articles