Upload website using FileZilla

Sections

    This article describes the steps taken to upload a website using FTP(Filezilla).

    For one to be able to upload a website, an FTP account should be created first (if not already created).
    Please see below the steps to create an FTP account (if not already created), which will be used to connect to the host panel using FileZilla, and upload the website.

    1. In your favourite browser, navigate to your host panel.
    2. Click on (1) FTP Accounts on your host panel dashboard to create a new FTP account.

    3. On the FTP Accounts screen you can find a list of existing (2) FTP accounts, to create a new account click on (1) Create FTP Account.

    4. On the FTP Account Properties screen, you will be required to enter a (1) USER NAME and an (2) ASSOCIATED PASSWORD. Clients can also choose to give Read / Write access via FTP. Clicking on SAVE will create a new FTP account.

    Please make sure that the user name is not too long, preferably 4 to 5 characters.


    Once the FTP account has been created, you can now connect to the host panel using FileZilla and upload the website.

    Below are the steps on how you can connect to the host panel, and upload a website in FileZilla.
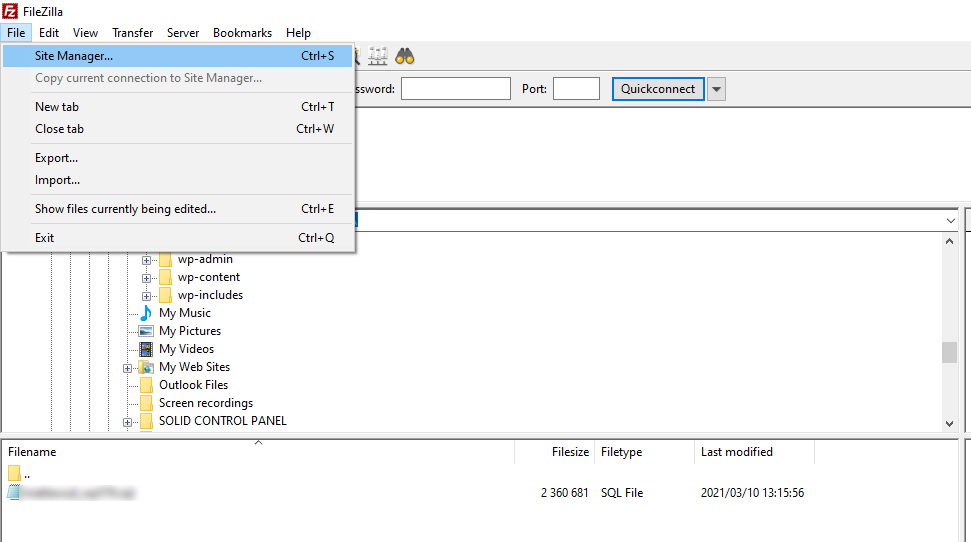
    1. Click FILE
    2. Select FILE MANAGER
    3. ADD A NEW SITE
    4. Enter the FTP details and click CONNECT


    You can now upload all your website files using FTP.

    Keywords:
    filezilla website upload, upload website via filezilla, ftp upload, website upload via ftp, website upload via filezilla

    Related Articles

    in Website Tags: FileZillaFTPupload website using filezilla
    Did this article answer your question?